Skip text – go straight to the images
A friend recently alerted me at short notice to an opportunity to participate in another FSC photography class (see FSC Flatford Mill for a post about my first FSC workshop). The workshop was entitled Photographing the Invisible World, and promised to cover various techniques for visualising things not visible to the human eye. These were to include: ultraviolet (UV) reflected and fluorescence, infrared (IR), polarised light, time-lapse and high speed photography.
I had previously had a camera converted for IR photography. I’d considered going for a full-spectrum conversion so that I could also record UV light, but UV is a different matter altogether. It requires more specialised equipment beyond a camera conversion and a reasonably cheap filter or two. Consequently, although my curiosity had been piqued by UV, I’d decided that IR was a lot simpler and so I chose a conversion for IR only. I was therefore keen to see some UV work in person, with an eye to perhaps having a full-spectrum conversion next time. I’d also played with time-lapse and flash-triggering to capture high-speed events but only in a superficial way, so having the chance to spend some significant time exploring all of these was too good to miss.
We both signed up, and duly arrived at FSC Slapton Ley during the recent heat wave. The workshop was led by Adrian Davies, who has been working in these areas for quite some time and has recently published a book specifically covering UV and IR techniques. You can find out more at his website.
UV reflectance photography involves illuminating a subject and capturing the reflected UV light, excluding any visible light with suitable filters. Some flowers reflect UV light quite differently to how they reflect visible light and thus details that are invisible to us can be seen by insects and birds that have vision extending into the UV part of the spectrum. Compared to IR photography, UV photography gear is relatively expensive, the necessary filters being significantly more costly. Many lenses are also unsuitable as they typically block UV. You have to locate lenses that are transparent to UV (old enlarger lenses are particularly good, apparently) and then find a way to mount them on your camera. For this session, only one student had a UV capable camera, so we were largely dependent on Adrian demonstrating what was possible using the quite considerable amount of gear he has accumulated over time. Some examples are available on Adrian’s website – this link is a particularly good one.
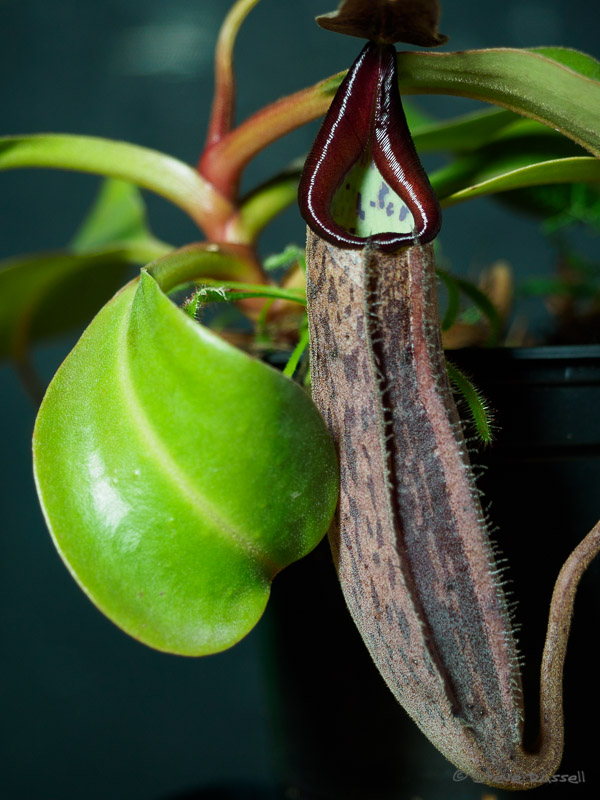
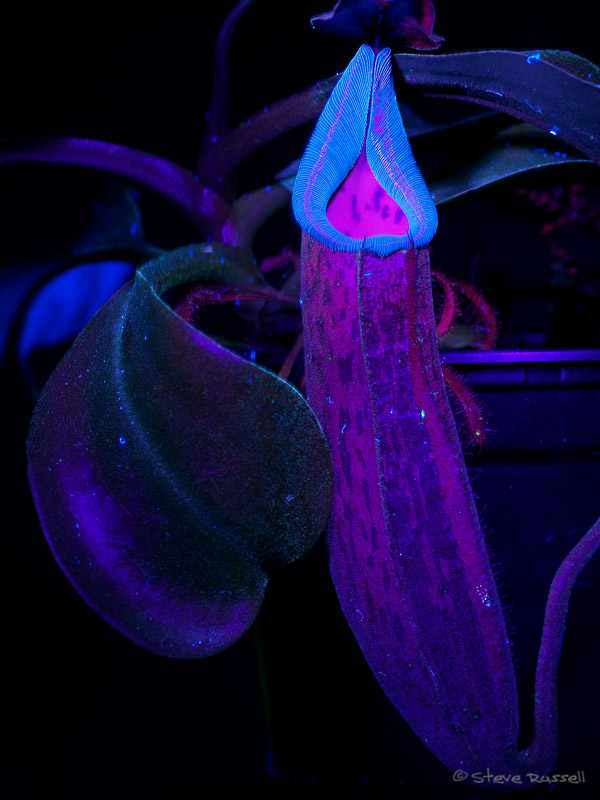
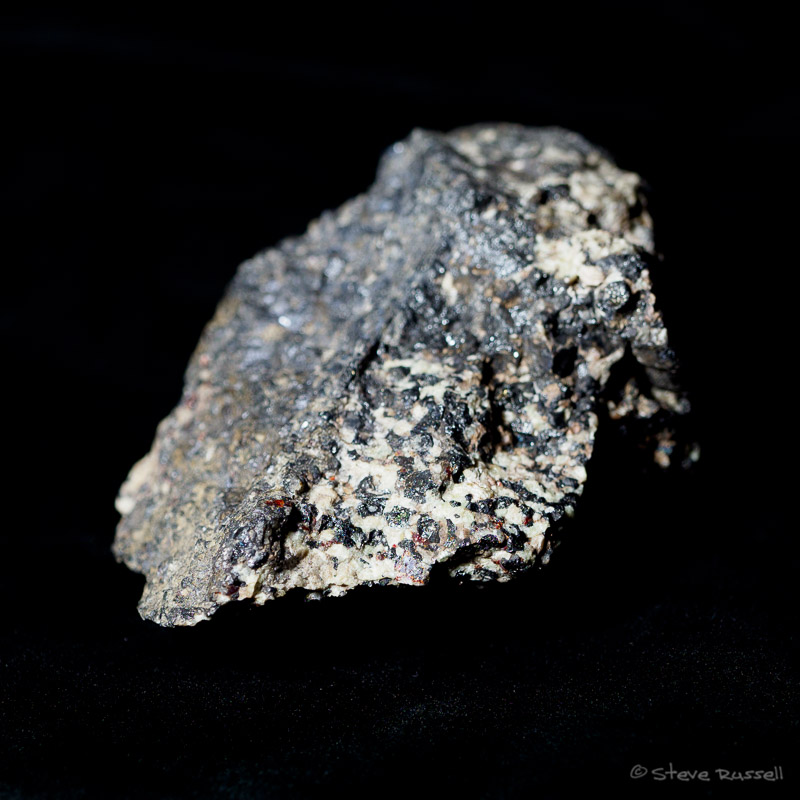
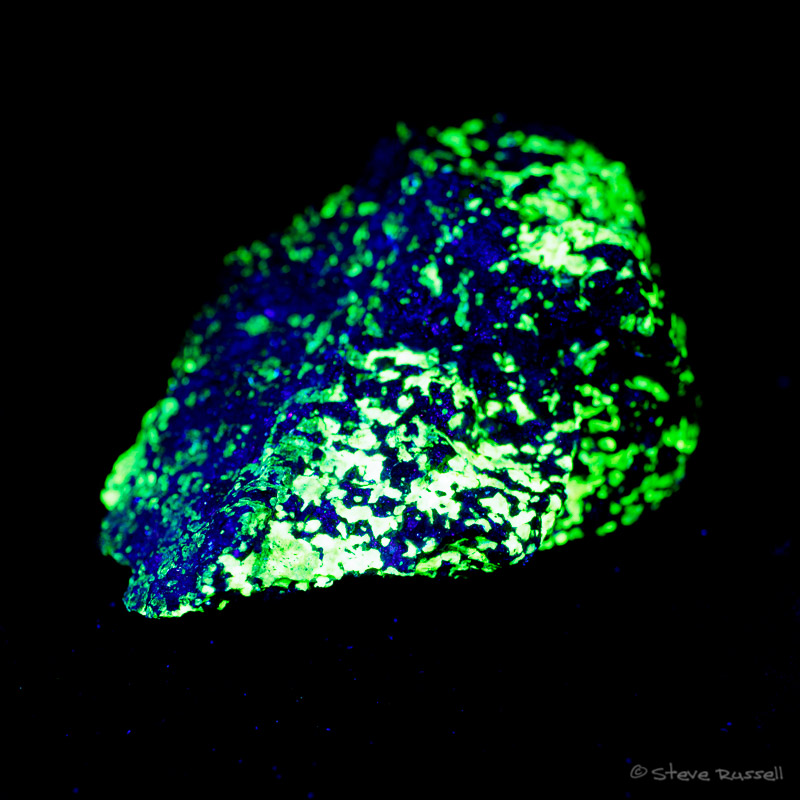
UV fluorescence photography is achieved by illuminating your subject with UV light and recording any fluorescence with your camera. Fluorescence is normal visible light emitted by certain substances when they are excited by the higher energy UV light. As the emitted light is in the visible part of the spectrum, you can use a normal camera for this type of photography. Different types of object may or may not exhibit fluorescence – discovering items that do is part of the fun. Some minerals fluoresce, and even soap powders do to give that “whiter-than-white” wash! To get the best effect, images are normally taken using long exposures in the dark and using light-painting techniques with a UV light source. Relatively inexpensive sources of UV light are now available so this is something that can be explored for little cost.
It’s worth mentioning that you are working with UV-A light, which is the radiation that can cause skin damage and eye problems with prolonged exposure to the sun, so you should be using eye protection and minimising any skin exposure when working with UV.
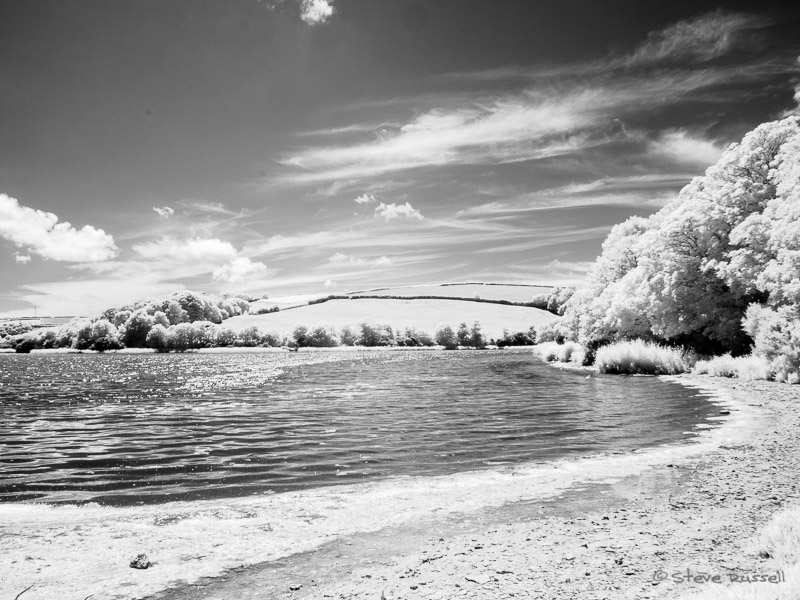
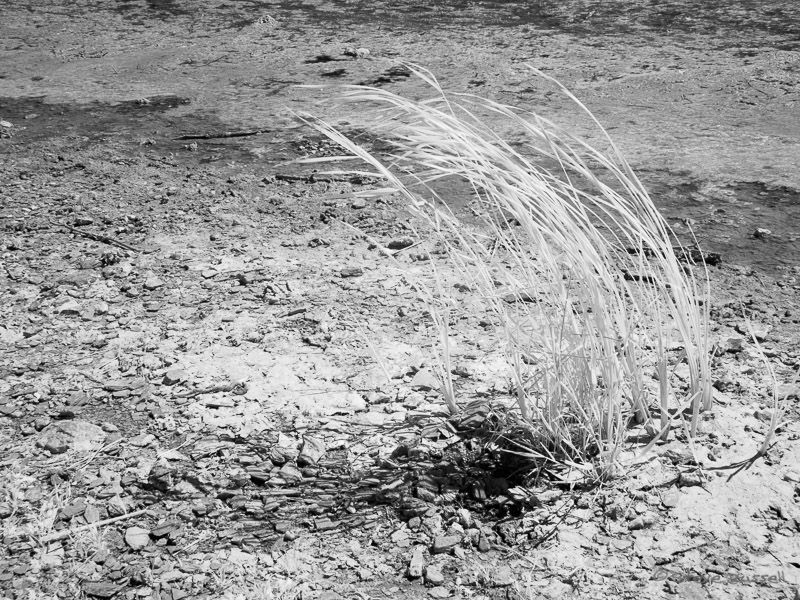
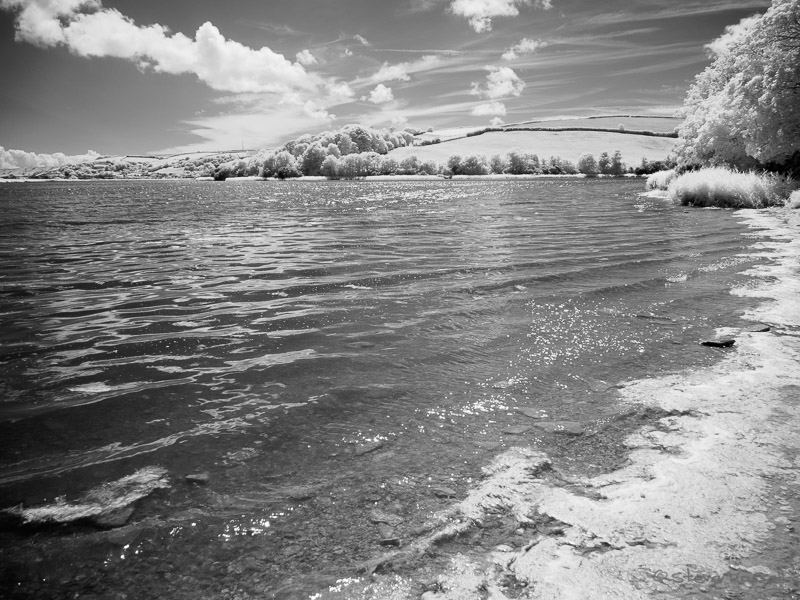
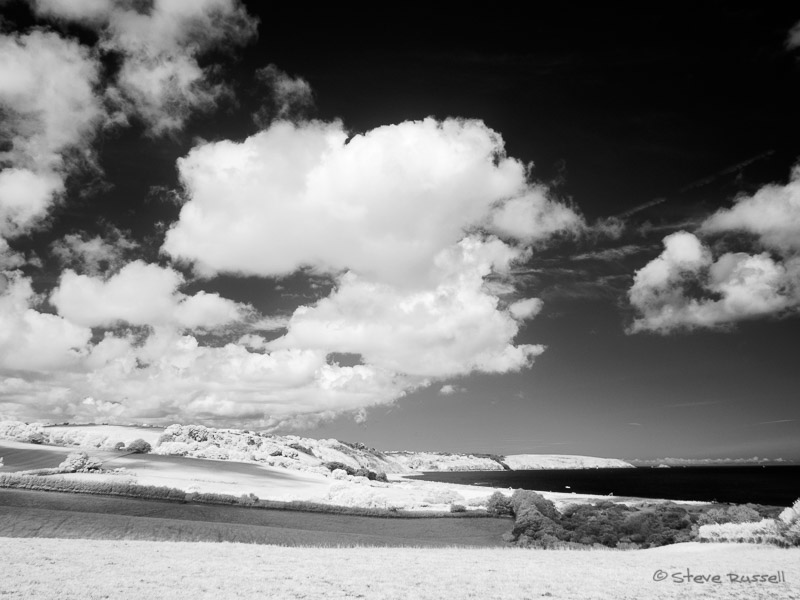
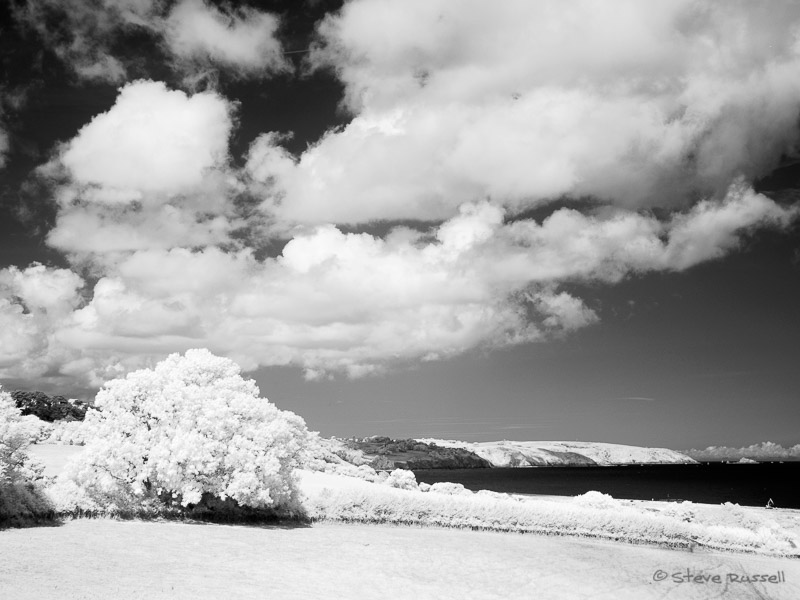
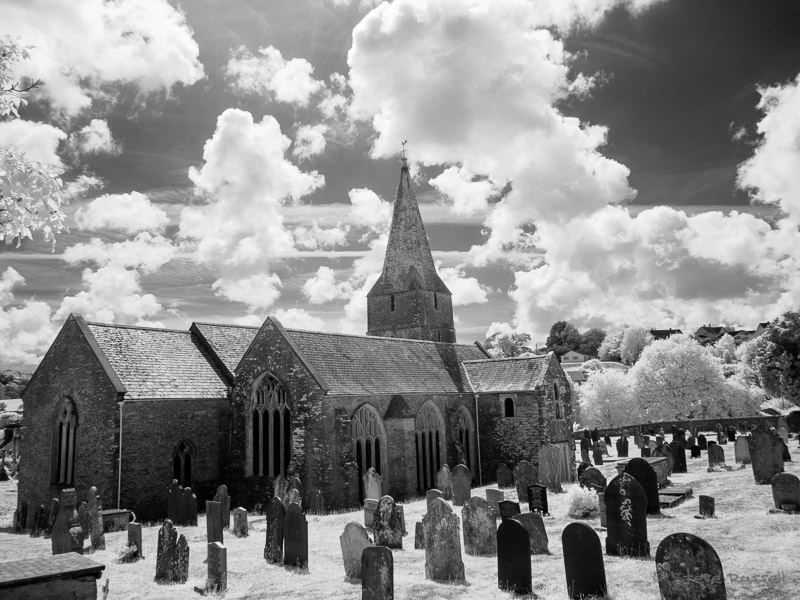
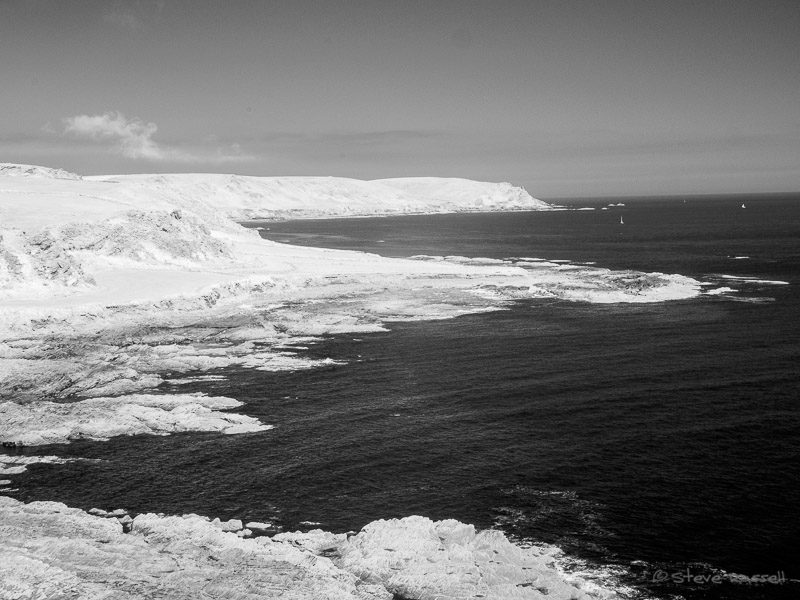
Infrared photography. This is also a reflectance technique – you are recording the reflected IR light from a scene. Using an SLR is tricky as the IR filter cuts out the visible light. This means that you have to compose without the filter in place and then add the filter to take the shot. My own IR camera is a mirrorless one so I get to use the viewfinder as usual, which is a distinct advantage. Lenses also focus IR light slightly differently and this has to be compensated for when using an SLR camera. This is another advantage with a mirrorless camera – it will also focus IR correctly due to the different focusing technology used.
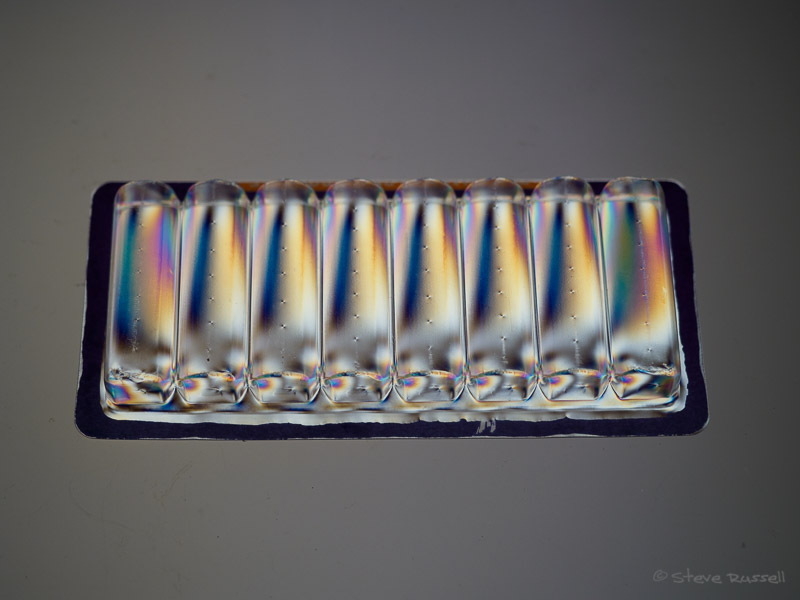
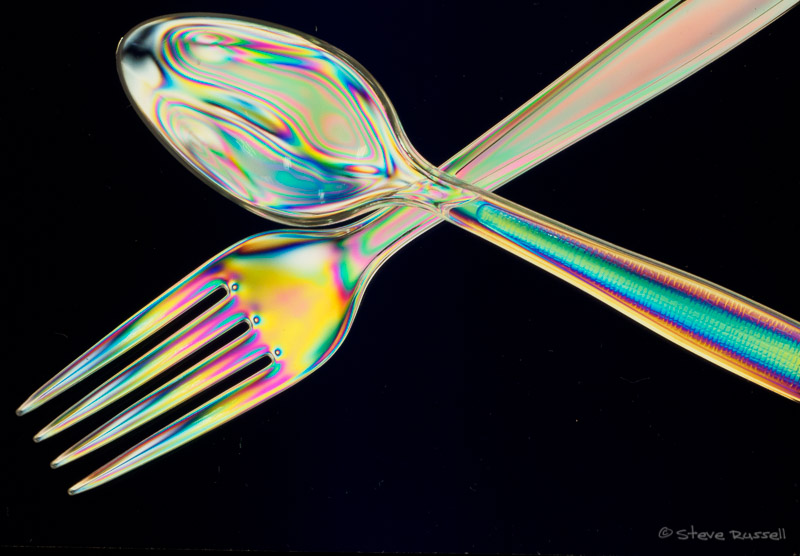
Polarised light photography uses a light box covered with a polarising film. Onto this platform are placed transparent plastic objects so that the polarised light from the light box passes through them. Photographing the plastic items using a camera with a polarising filter attached to the lens then reveals coloured stress fringes in the plastic. These can be used by engineers to help evaluate the stresses in structures using plastic models of bridges, for example, as the fringes move as the stresses change. I remember seeing an example of this in the Birmingham Science museum 50-odd years ago… it’s still a lot of fun now!
Time-lapse photography is simply making a movie out of a sequence of still images. Most people will have seen examples of this technique being used. By taking an image every few seconds and then playing them back at video speeds (typically 24 or 25 frames per second in the UK) you effectively speed up whatever it is you are taking pictures of – maybe a flower bud opening or clouds scudding across the sky. For the simplest time-lapse sequences, you simply mount the camera on a tripod to ensure that the camera doesn’t move between shots. More advanced practitioners mount the camera on a mechanism that moves and perhaps turns the camera by a tiny amount between shots so that the illusion of panning and traversing of the camera is added to the sequence.
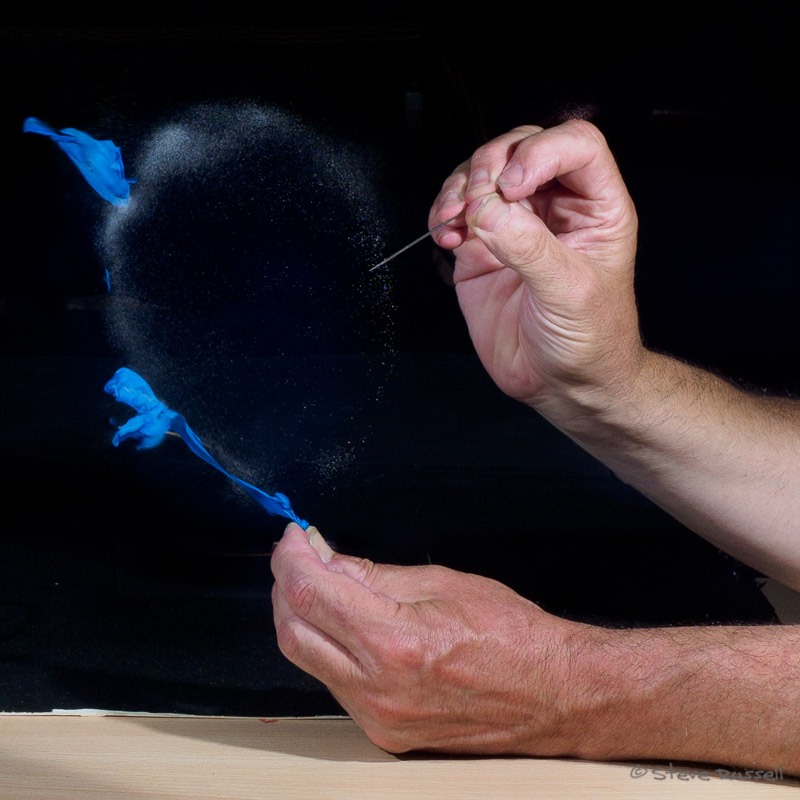
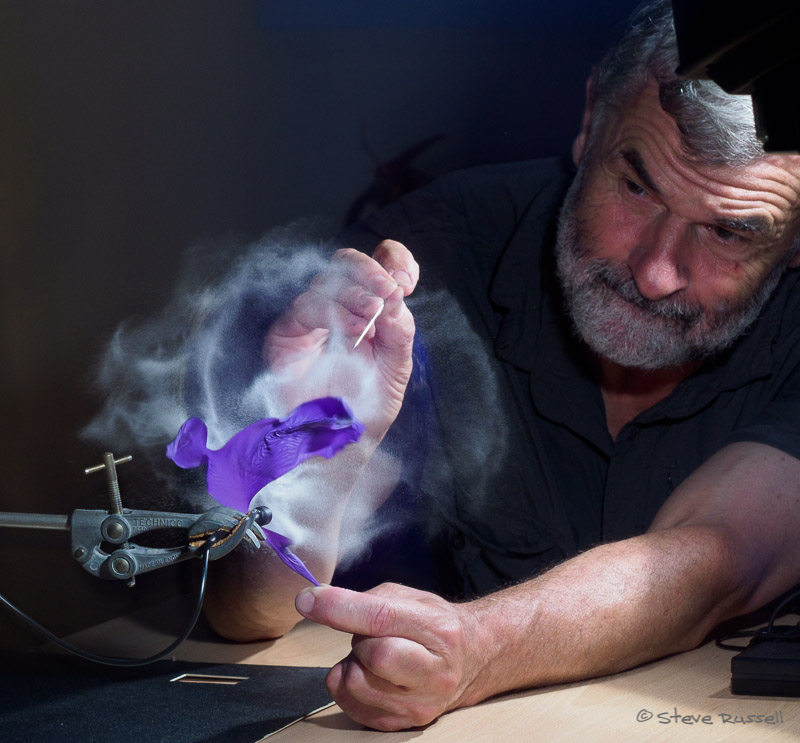
High-speed photography involves capturing an image of something that happens very quickly – too quick for the human eye to register. To do this accurately and repeatedly requires a trigger mechanism to cause the picture to be taken at the appropriate moment. In many cases, the event to be captured takes place too quickly to be able to release a shutter quickly enough. To overcome this problem, the most common technique is to shoot in the dark with the shutter held open and to use a triggered flashgun to make the exposure. We used a microphone with a trigger circuit to capture balloons being popped with a pin. I wrote earlier (18 months ago!) that I had a built a trigger but now had to build some sensors to make it work. Well that hasn’t happened so far, but I’m now motivated to get on with it so I hope that will move forward in the coming weeks.
I really enjoyed the first evening followed by three very full days of the workshop. Six students took part and all agreed that the week was time well spent. Adrian and the other students were all easy to get along with and we had great fun experimenting with the various techniques and some excellent social evenings in the local pub. Recommended!
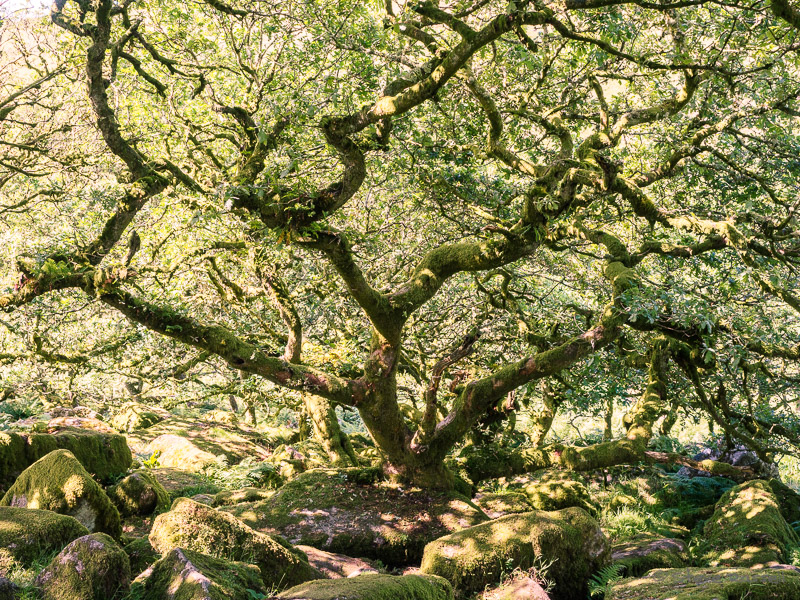
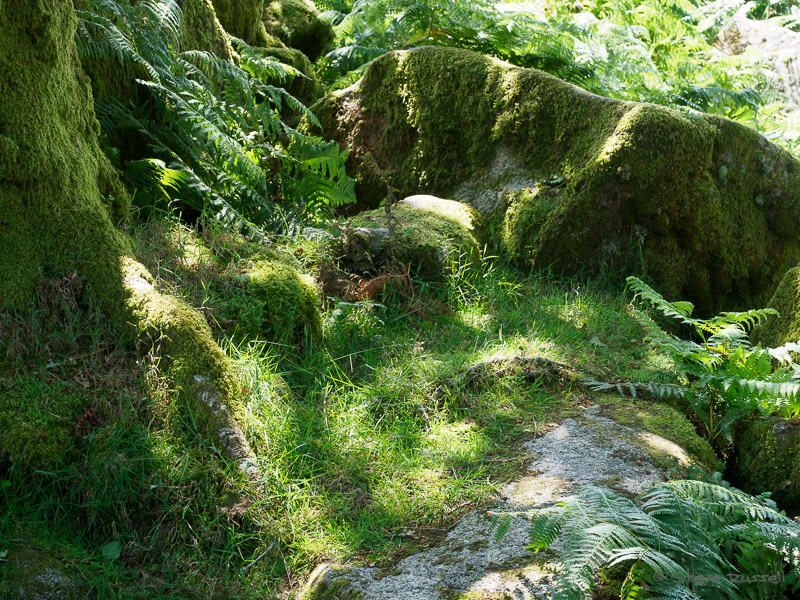
As a bonus, on our way home, my friend and I stopped off at Wistman’s Wood, which Adrian had mentioned was a fascinating place to take some photographs. I’ve included a couple of shots below.
All images are copyrighted – please contact me for usage details
