While I don’t see anything in the E-M1 MkIII that makes me want to dash out and buy it, I was intrigued by the LiveND feature. I saw it mentioned on the E-M1x but didn’t pay much attention as I was even less interested in that model.
Anyway, it turns out to be quite simple (if a little time-consuming) to achieve this effect with a fairly straightforward bit of post-processing, which I thought might interest some. The technique is not limited to Olympus cameras either.
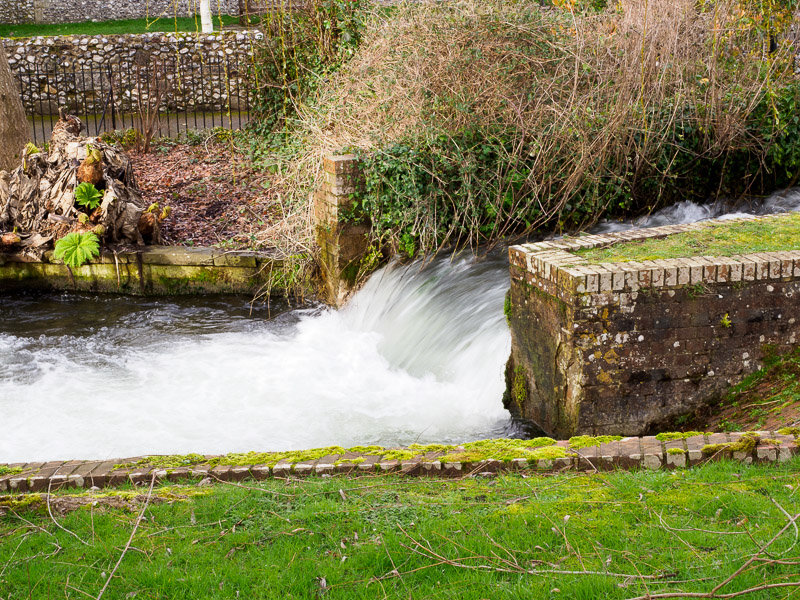
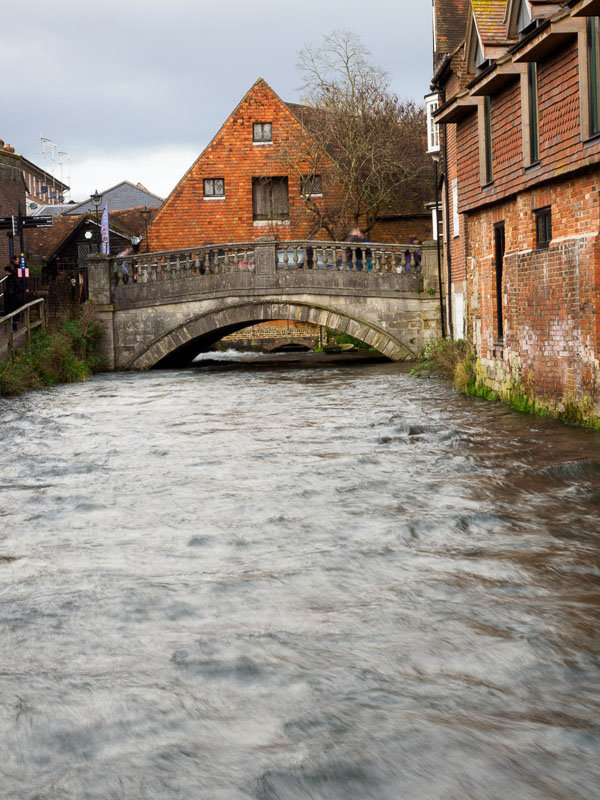
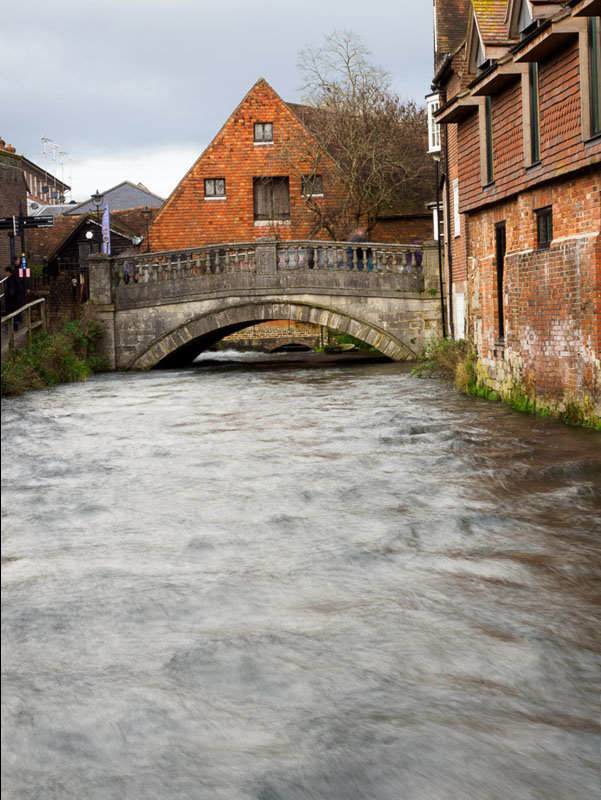
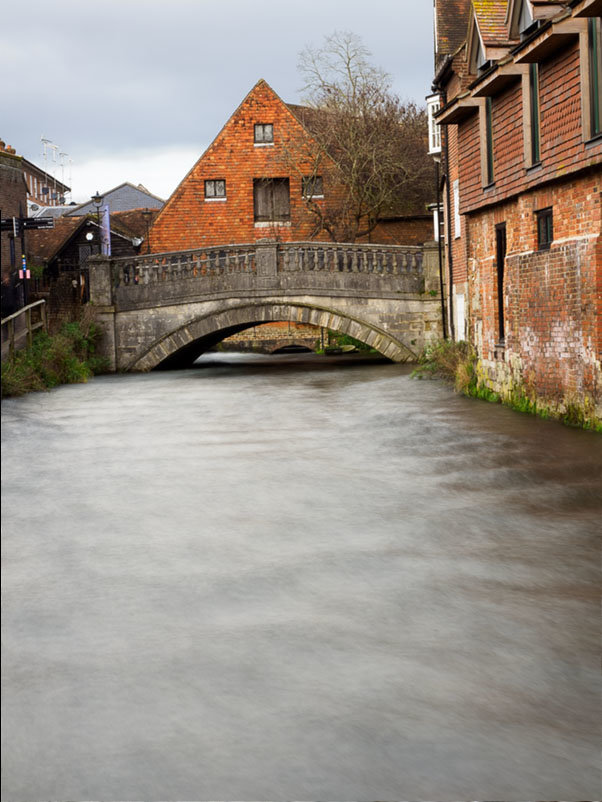
First, here are a couple of examples. These were taken simply to demonstrate the effect achieved. The images of the weir were taken at 1/20, f/16, ISO 200 while the mill shots were taken at 1/20, f/20, ISO 200. The small aperture was used to get the shutter speed down to a point where the longer exposures would be a reasonable length – at the size shown here, diffraction won’t be an issue anyway. These were all taken handheld.
The mill images also show how this type of process can be used to eliminate people from a street scene – look at the people crossing the bridge.
- Put your camera into aperture-priority mode, select the aperture you want for the depth-of-field you want to achieve, focus, frame your shot and see what shutter speed you get. It’s a good idea to use a tripod, just as you would for a physical ND shot, but you may be able to get away shooting handheld if you’re careful.
Select an ISO value to set an appropriate shutter speed for the amount of blurring you want to achieve. Don’t forget that the processing to follow will effectively slow the shutter speed down by the number of stops of ND you intend to simulate. Check the exposure is correct by shooting a single frame and adjust the shutter speed and/or ISO as necessary. Once you have decided on suitable values for aperture, shutter speed and ISO, switch to manual mode and set these values – you don’t want any of them changing as you take a burst of images. - Set your camera to its fastest burst rate.
On an Olympus OM-D E-M1 MkII, that’s 60fps using the electronic shutter. This means that, as long as the shutter speed is 1/60 or slower, the frames will be as close to gapless (in time) as possible. Slower burst frame rates will mean your fastest gapless shutter speed will be correspondingly slower. Using the electronic shutter eliminates any delay due to having to reset the mechanical shutter. Depending on the exact nature of the picture being taken, small time gaps between frames may or may not be visible. For some types of picture (eg flowing water) I suspect gaps will not matter much at all.
If your camera allows it, set the maximum number of frames in burst mode to the number of frames you need. Without this, you have to guess when you’ve taken enough and, at high frames rates, this isn’t so easy. (C1 menu on the OM-D E-M1 MkII). - Transfer the burst of pictures onto your computer and load into Photoshop as a stack (Files>Scripts>Load files into stack…). If you didn’t use a tripod, you should tell Photoshop to attempt to align the layers by ticking the relevant box (this can take some time, depending on the number of images you have in your stack). Also tick the box “Create Smart Object after Loading Layers” or select all the layers after they have been loaded and then click Layers>Smart Objects>Convert to Smart Object.
I’m using Photoshop CS5.5, which doesn’t understand my raw files, so I either shoot JPGs for this or shoot raw and export JPGs from Lightroom. JPGs will be less demanding on your computer anyway. You need 2^n images in the stack, where n is the number of stops of ND you wish to simulate (2 images for 1 stop, 4 for 2, 8 for 3, 16 for 4 and 32 for 5 stops). The number of images needed starts to get a bit crazy for even higher stop values but it can be done if your computer has enough memory and processing power. - Click Layer>Smart Objects>Stack Mode>Mean to get Photoshop to average the images and you’re done. The image should be showing some nice blur where sufficient movement is present in the frame.
If you’re simply trying to eliminate people, traffic etc. from a shot, the Median method (rather than Mean) seems to be recommended quite widely. - Save the resulting image. Photoshop will default to saving it as a PSD file to preserve the Smart Object, select JPG as the filetype if you want to use it elsewhere.


